XML
The data in the XML files that you import must fulfill two criteria:
-
A root node must exist. This node contains all records.
-
Import nodes must contain a defined number of sub-nodes, which correspond to index data fields. The values of these sub-nodes can be imported. The first import node must contain all sub-nodes. It is not necessary for every import node to contain all sub-nodes or values.
XML namespaces are not allowed.
Example of an XML file:
<patienten>
<datum>11.05.2004</datum>
<patient>
     <name> Schmidt </name>
     <vorname> Johanna </vorname>
     <geburtsdatum> 01.01.1965 </geburtsdatum>
</patient>
<patient>
     <name> Bellhausen </name>
     <vorname> Klaus </vorname>
     <geburtsdatum> 08.11.1945 </geburtsdatum>
</patient>
</patienten>
The <patients></patients> node is a root node. The <patient></patient> node is an import node and contains sub-nodes <date of birth></date of birth>, <first name></first name>, and <last name></last name> that contain the field values that are to be imported.
The 'XML tag extraction' automatic action converts XML data into TEXT/ASCII data, and the 'XML transformation' automatic action converts XML data using an XSLT stylesheet. Use these actions when your XML data cannot be imported directly.
During configuration you enter a configuration name and select the 'XML' format.
Then, you specify the location of the import data.
enaio® server checks whether the path of the import files corresponds exactly to that specified for enaio® server. If this is the case, these files are imported. If this is not the case, the files will be transferred from the processing computer to enaio® server.
The import wizard reads the file and shows the nodes in the import file in the dialog named Determining the XML import node:
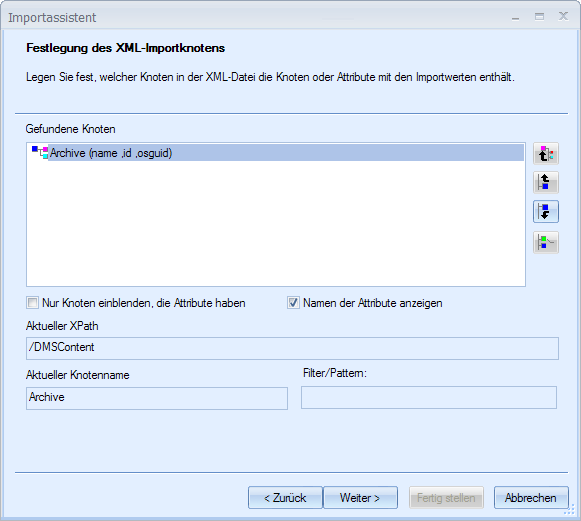
The nodes that have been found are flagged as follows:
|
|
Nodes that exist more than once and have sub-nodes. |
|
|
Nodes that exist exactly once and have sub-nodes. |
|
|
Single nodes without sub-nodes. |


Nodes that could not be identified clearly are flagged with a red question mark.
Select the import node that contains the sub-nodes with the import data in the Determining the XML import node dialog.
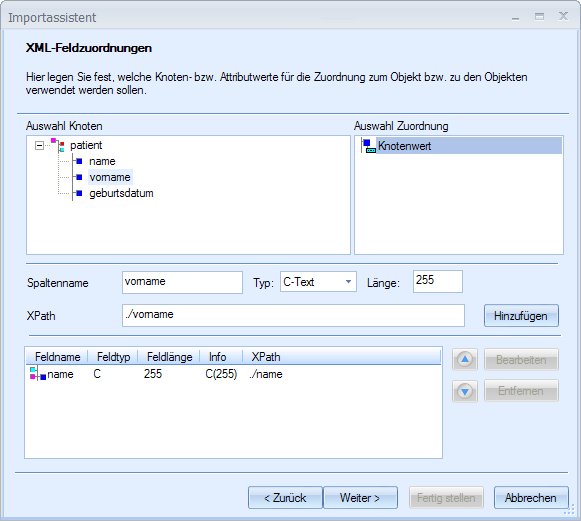
The following dialog, XML field mapping, shows the sub-nodes of the selected import node.
Assign a column name, a database type, and a length to each sub-node containing the import data.
-
Select a sub-node.
-
Enter a name in the Column name field.
-
Select a database type from the Type list.
Type 'W-Table' is used for importing data into the 'Table' dialog element (see below).
-
Specify the length.
-
Click the Add button.
The sub-node is placed in the list of configured fields. Later, you will assign these fields to enaio® object fields.
Import of Exported XML Data
Data that you have exported in the 'linear XML' format using the 'Data and document export' automatic action do not conform to the above-described XML structure, but can, in any case, be imported.
Records have the form of a table, and the values are shown in a list.
<columns>
<column></column>
<column></column>
...
</columns>
<row>
<value></value>
<value></value>
...
</row>
If you select the node Row as import node, all exported data is automatically configured as fields in the XML field mapping dialog.
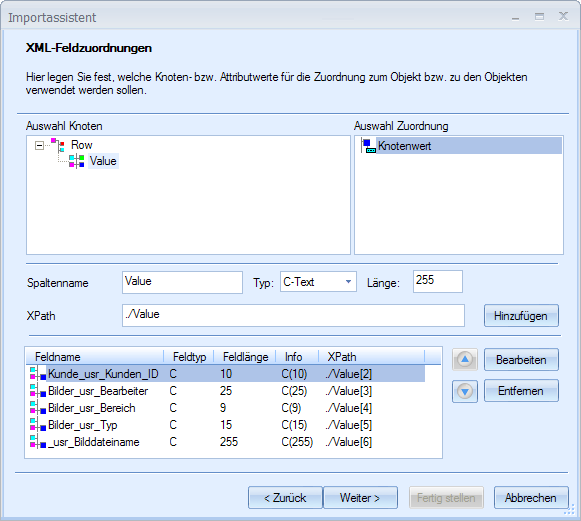
If you do not want to import data, remove the corresponding fields again.
Data Import for the 'Table' Dialog Element
Data for the 'Table' dialog element cannot be imported using the 'XML' format. If you export data from the 'Table' dialog element, these data can be imported as explained below:
The data for the dialog element require the following structure:
<tabelle>
<zeile>
<spalte1>Wert</spalte1>
<spalte2>Wert</spalte2>
</zeile>
<zeile>
<spalte1>Wert</spalte1>
<spalte2>Wert</spalte2>
</zeile>
</tabelle>
Select the 'Table' sub-node and enter the type 'W-Table' in the XML field mapping dialog.
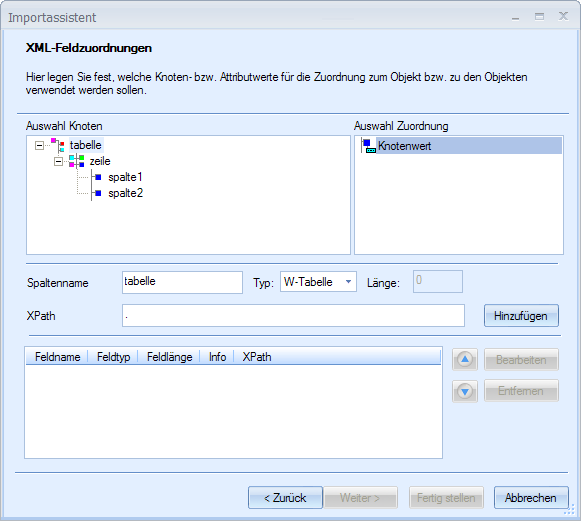
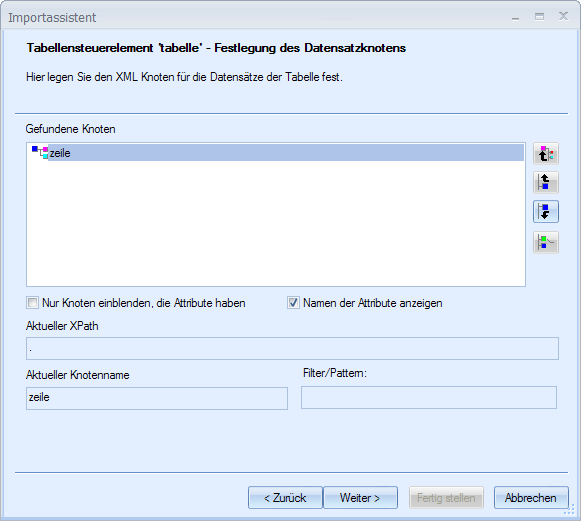
In the following dialog, Table control element – Records node, select the 'Row' sub-node.
In the next dialog, Table control element – Column definition, select the tags containing the values for the columns as well as a database type and length.
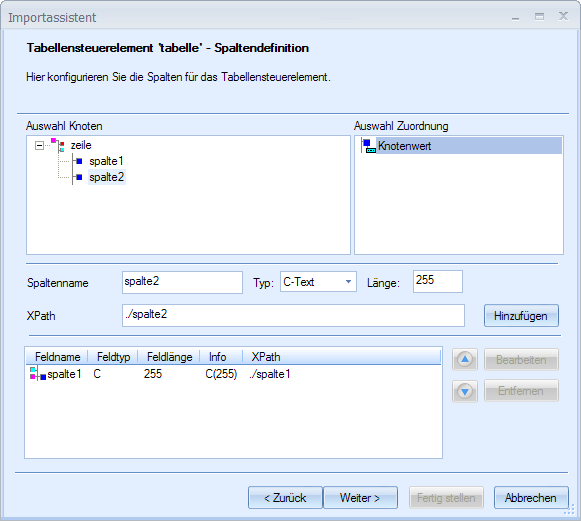
Doing so sufficiently identifies the import data, which can then be configured for the import target in the dialogs for field mapping.
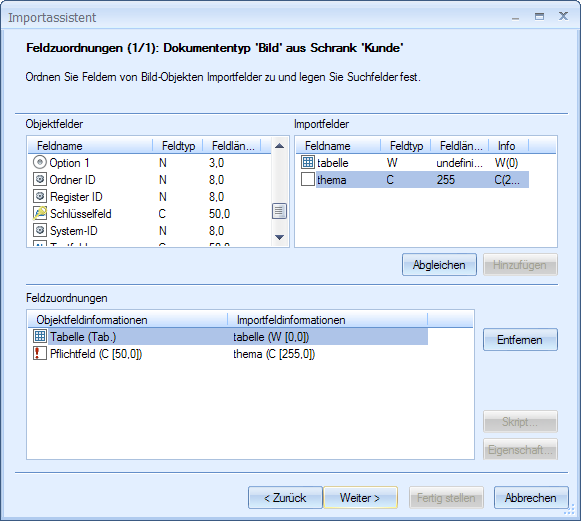
Assign the 'Table' object field to the 'Table' import field. Both are displayed with their respective table icons.
Finally, you assign the columns of the 'Table' object field to the columns of the import fields in the Table control element – Column definition dialog.
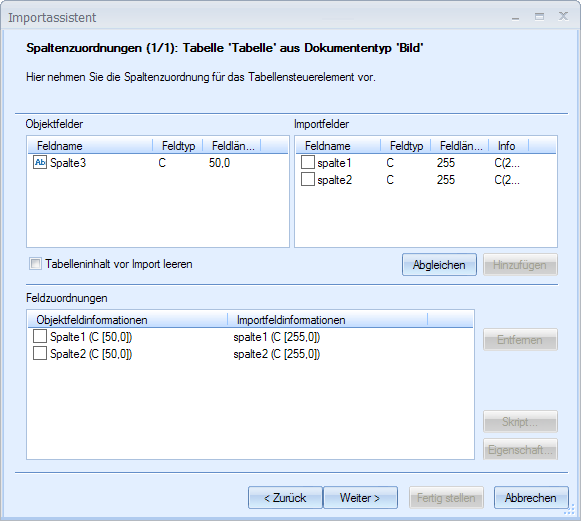
New data is always added to tables. If you do not want data added, enable the Clear table content before import option.
The table must not be labeled as a search field.
 areas. Use the toolbar to show all hidden areas at once:
